Practising the Mandolin:
|
|
Of all the techniques used when playing the mandolin, the tremolo is certainly the most important. But not far behind, we find all the string crossing and arpeggio techniques. I even believe that we can go so far as to say that these arpeggio techniques were as important for the French “Maîtres” of the 18th century as the tremolo was for the Romantic era. Let’s be clear as what we mean by “arpeggio techniques” since so many words are used to describe this way of playing. In this article, we will call “arpeggio technique” all the techniques that involve playing a series of notes on different strings — including what the 18th century composers called “batteries” or any other mean of string crossing. Every mandolin player knows that the arpeggio techniques can offer tremendous possibilities — mainly in improvisation and variations — but at the same time can be a total nightmare if not totally mastered. |

Gabriele Leone, Méthode Raisonnée pour passer du violon à la mandoline...
|
The foundation
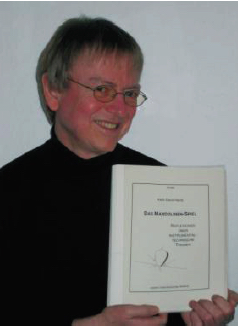
Keith Harris and his book.
To buy the book, click on the image
|
Mastering these techniques is impossible without a solid picking technique. Time to buckle up. I know! I’m about to dive in the alligator pond! The pick at a 90 degree angle, 45 degree or maybe even in-between? German style, Italian style, mix style, no style at all, speed VS sound quality? I can hear the soaring protest.
Being a huge fan of Caterina Lichtenberg and of everything related to the so-called “German method”, I must confess that I am a 45-degree partisan. Anyway, let’s not forget that Pietro Denis, 225 years ago, on the 6th page of his famous method, already promoted this way of picking! Keath David Harris, in his book “The Mandolin Game”, gives us priceless advice on the subject. Let’s look at what he has to say on page 15: “The tip (end pointing inwards towards the player) of the plectrum should be higher in respect of the horizontal plane than the “big” end between your thumb and index finger, meaning that the plectrum is angled downwards.
The plectrum should also be tilted somewhat to your left, so that it is not resting flatly on the string, but rather only with its left (from your vantage point) tip edge.” (p. 15) |
The down-stroke
|
Because it will be useful, let’s use the four phases of the down-stroke described by Harris on page 27 of his “Mandolin Game”. The phase 1 of the down-stroke is the resting position: the pick “rests” on the string beneath the one we want to strike; the phase 2 is the process of bringing the pick over the string in a position from which the stroke could be made; the phase 3 is the state of being prepared for the stroke; the phase 4 is the stroke itself bringing us back to the Phase 1, the resting position. |
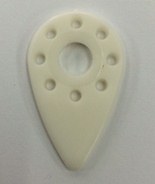
Wolle plektrum for mandolin.
|
The signs

|
A: Both notes are played with the same down-stroke: phase 1, the resting position + phase 2, bringing the pick in position + phase 3, preparation for the stroke + phase 4, the stroke itself on the first note + a second phase 4, without preparation, to play the second note on the other string.
B: A down-stroke (4 phases) for the first note + upstroke, striking only 1 string, the pick being held at 45 degree. C: The first two notes are played like in A + upstroke, striking only 1 string. |
The exercises
|
Our downloadable document presents 19 exercises that could be useful to practise these two strings arpeggio techniques. There are exercises that focus mainly on the right hand picking technique, others focussing on the left hand “stopping” technique; finally, some exercises are about the coordination of both hands.
Some players think these techniques, mainly the “down-down-up” one, can become a clever trick to easily mesmerize the listeners. It’s wise to resist such a temptation and practise these exercises in a moderate tempo, concentrating on the quality of the sound of each and every note. |
To download all of the documents attached to this article, click on the button.
|
Going a little further
|
In the second part of his Methode Pour apprendre à Jouer de la Mandoline Sans Maître, Pietro Denis gave us eight Preludes to practise the different « batteries » that he described in the first part. In our downloadable document, we’ve transcribed the 7th. It’s not an easy exercise especially for the 4th finger! |
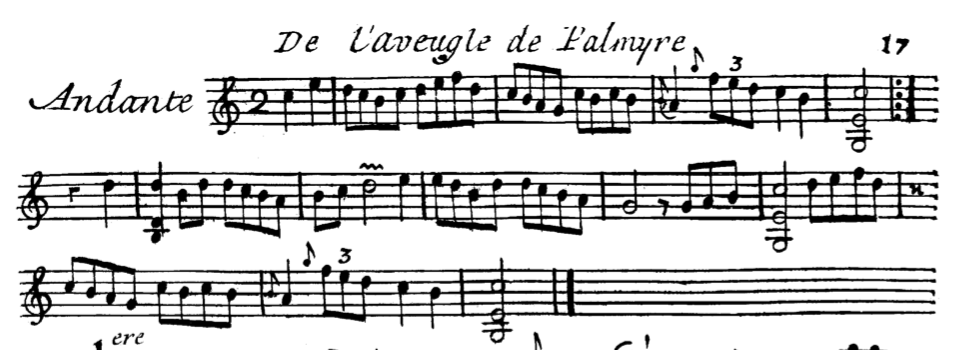
Again, in the second part of his Méthode, Denis presents a series of “theme and variations” with the same purpose: practising the arpeggio techniques. In our document, we’ve transcribed “l’Aveugle de Palmyre” with his variation 2 and 4. Here again, the variation 4 is some kind of a torture for the 4th finger! We’ve also transcribed “Les deux Chasseurs et la Laitière” and his variation 2, which is a bit easier than the previous two pieces.
And, what about the modern composers?
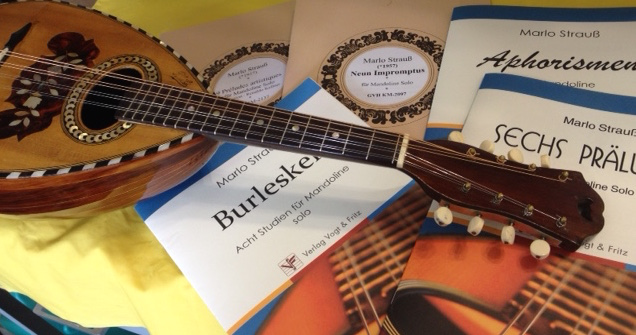
The arpeggio technique on two strings is not limited to composers from the past centuries. Here are 3 examples of compositions from Marlo Strauß and one from Alison Stephens that are based mainly on this technique.

From Marlo Strauß, Sechs Präludien für Mandoline Solo, Verlag Vogt & Fritz
|

Marlo Strauß
|

From Marlo Strauß, 9 Préludes artistiques für Mandoline Solo, Grenzland-Verlag Theo Hüsgen
|

From Marlo Strauß, Burlesken, Acht Studien für Mandoline solo, Verlag Vogt & Fritz
|

From Alison Stephens, in 15 Inventive Studies, Astute Music Ltd.
|

Alison Stephens
|
|
Conclusion By seriously practicing this two strings arpeggio technique we rapidly realize that we can learn a lot from such a technique. Not only do we learn about the specific technique but we can greatly improve our picking technique, our double-stops playing, our coordination, our precision and, of course, the general quality of our sound. |